3D Scanning of Leaf
The surface of the blade workpiece is a complex curved surface. In the quality inspection, due to the influence of the shape and structure of the workpiece, the traditional industrial inspection method is used to directly detect the workpiece, which can no longer meet the increasing demand of industrial inspection. The types of data that can be inspected are limited, and it is impossible to accurately and quickly determine whether the data is It meets the design requirements, and the detection process takes a long time.
Practical problem
Obtain the point cloud data of the workpiece through three-dimensional scanning, establish a high-precision three-dimensional model, and directly compare the three-dimensional model with the original design model, which can quickly and accurately calculate and quantify the deviation between the product and the design. This non-contact detection method solves the measurement requirements and problems that cannot be completed by customers in the process of using traditional measurement methods, and improves the quality and efficiency of the detection process.

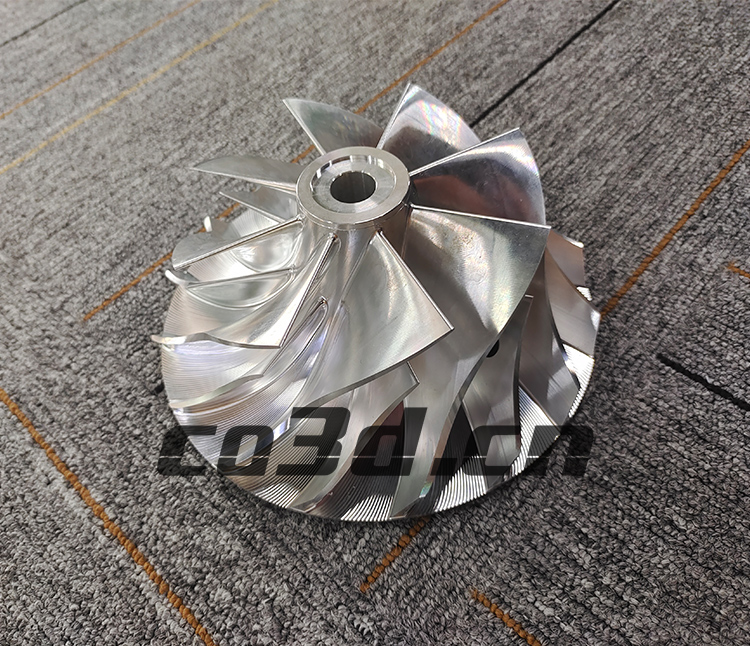
Scanning the physical map of the leaf
Solutions
Three-dimensional laser scanning technology has developed rapidly in recent years and has the characteristics of high precision, high density, real-time and initiative. Use a handheld 3D scanner to quickly and comprehensively collect blade workpiece data, perform data optimization processing, and obtain high-precision 3D models. Comparing the acquired three-dimensional model with the original design model can determine whether there is deviation in the analysis and export the test report. The 3D scanning equipment is compact and flexible to use, with high precision and a wide range of applications.

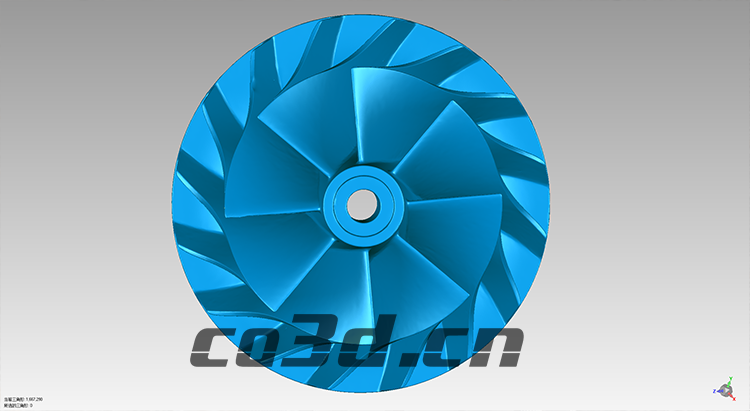
STL data map of leaf scan

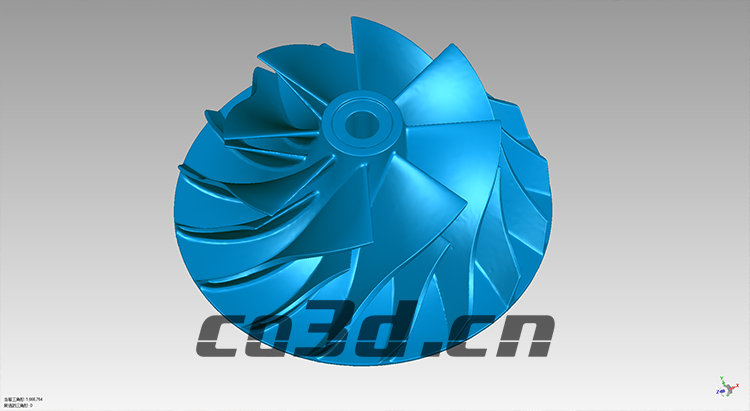
STL data map of leaf scan

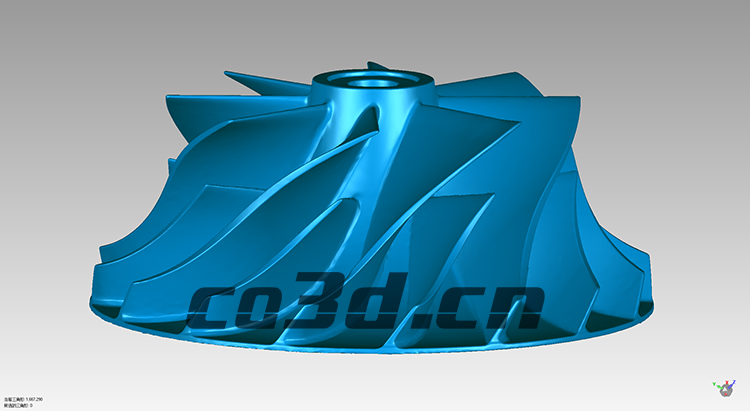
STL data map of leaf scan