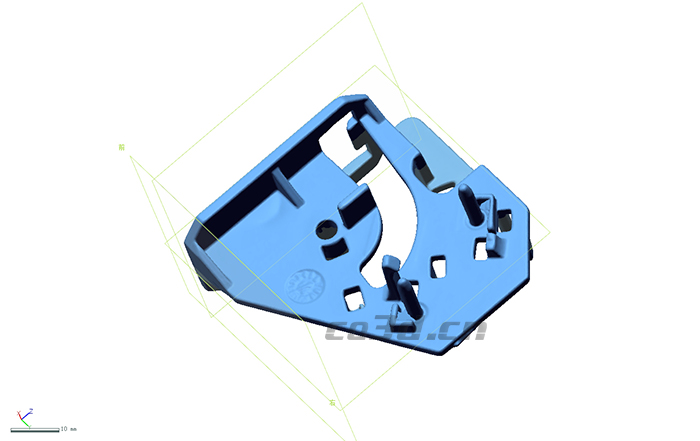
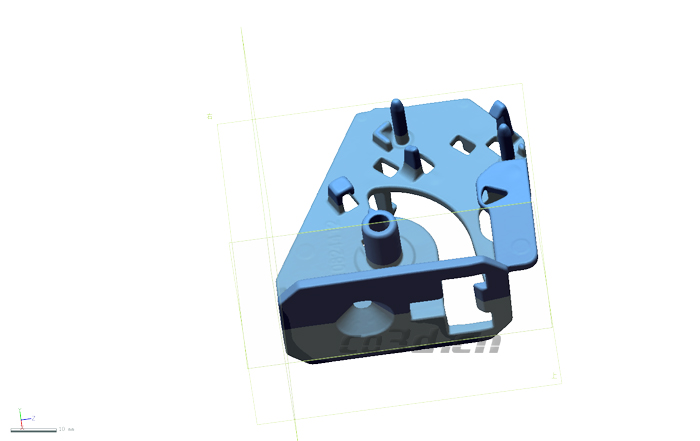
Precision instrument switch scanning case
Whirlpool, one of the world's largest manufacturers of large household appliances, needs to perform three-dimensional scanning of precision instrument switches to obtain high-precision three-dimensional data, improve secondary development efficiency of products, save costs, and shorten the development cycle of new products.
Practical problems
1. The precision instrument switch has small volume, complicated shape and irregular shape, different grooves on each surface and many dead angle holes. The three-dimensional size to be measured is relatively large, which brings great difficulty to the traditional measurement work.
2. The traditional measurement method is very cumbersome, time-consuming and insufficient to collect data (insufficient data), the gap caliper can not be measured, the accuracy is difficult to be guaranteed, and the precision instrument switch can not be measured normally, which can not meet the customer's needs.
CO3D solutions
In view of the small and complex shape of the precision instrument switch, and the many holes in the dead angle, the 3D technical engineer proposed a solution: using the camera-type 3D scanner HL-3DX+ to quickly scan the 3D data of the precision instrument switch, the scanning process is not only fast, High precision, easy operation and short time-consuming, meeting the scanning needs of customers and successfully solving the problems faced by customers.

Precision instrument switch site physical map

Precision instrument switch STL data chart

Precision instrument switch STL data chart