recision parts 3D scanning case
Our company was invited by a famous manufacturer to conduct comprehensive inspection of precision instrument accessories, obtain high-precision 3D data, and combine Geomagic Studio software points for point cloud data post-processing. The processed data import detection software can perform detailed analysis on the characteristics of precision instrument accessories, such as contour, curvature and so on. Master the detailed 3D test results, analyze the product's qualification and improve product quality.
Practical problems
1, the use of traditional measurement methods is very cumbersome, time-consuming and insufficient data collection (insufficient data) accuracy is difficult to guarantee, for the irregular arc surface of the workpiece can not be effectively measured, it is impossible to normal detection of precision instrument accessories.
2, precision instrument accessories are small and complex, the ring groove is different and there are more dead angle shadows, the customer needs to accurately measure the three-dimensional size of the annular groove contour, which brings great difficulty to the traditional measurement work.
CO3D solutions
In view of the complex shape of the precision instrument accessories, the different annular grooves and the more dead-end shadows, the 3D technical engineer proposes a solution: using the camera-type 3D scanner HL-3DS to quickly scan the 3D data of the precision instrument accessories, the scanning process is not only Fast speed, high precision, easy operation and short time, meet the scanning needs of customers and successfully solve the problems faced by customers.
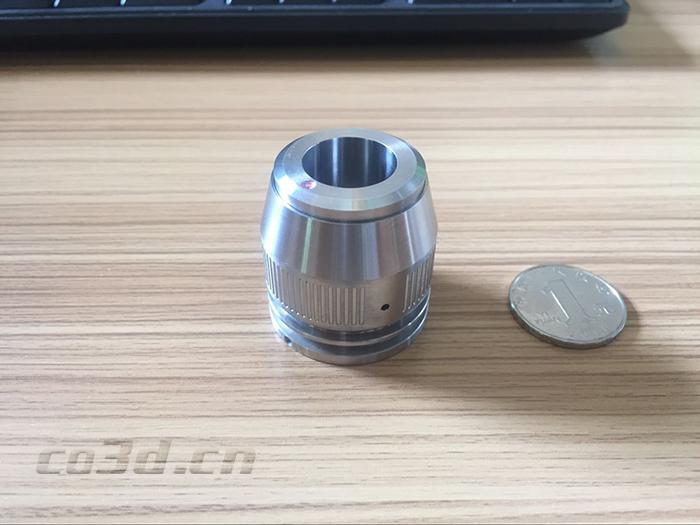
Precision parts physical map
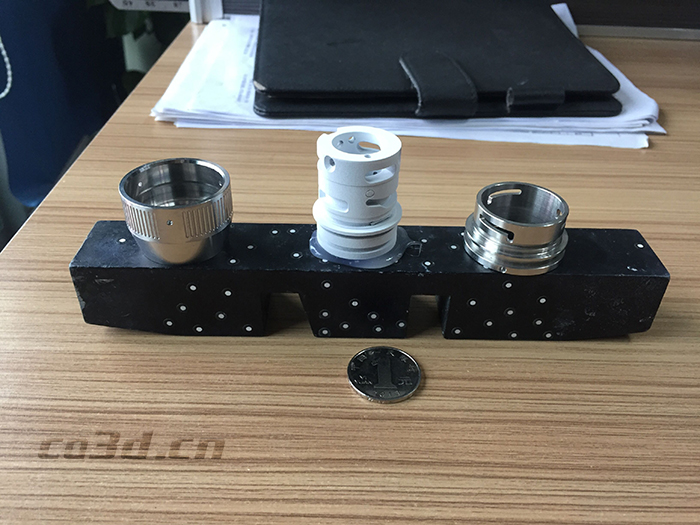
Precision parts STL data chart
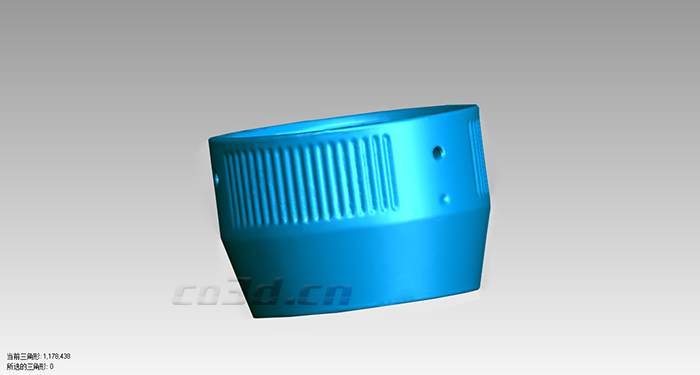
Precision parts STL data chart
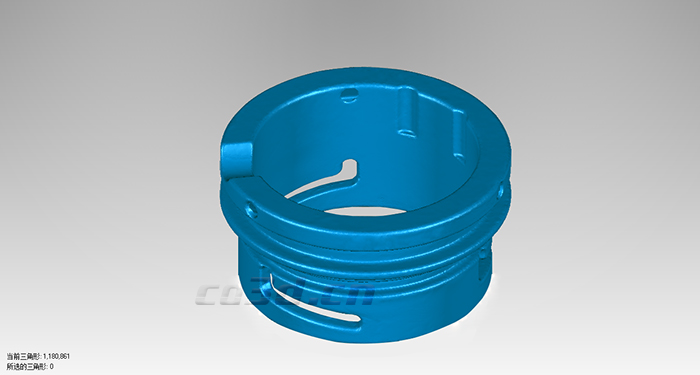
Precision parts STL data chart
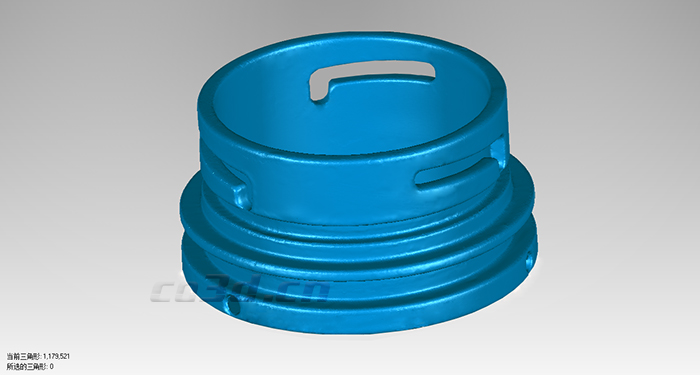
Precision parts STL data chart
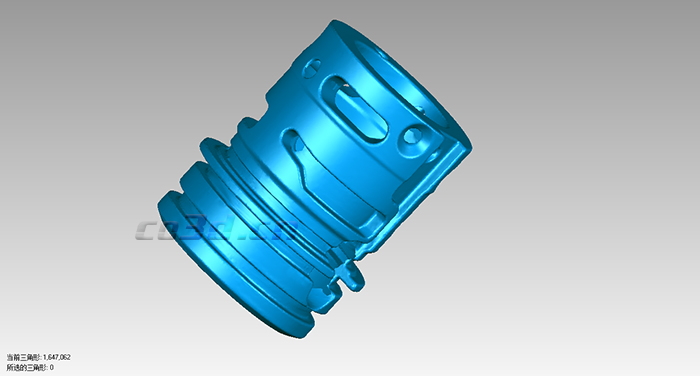
Precision parts STL data chart
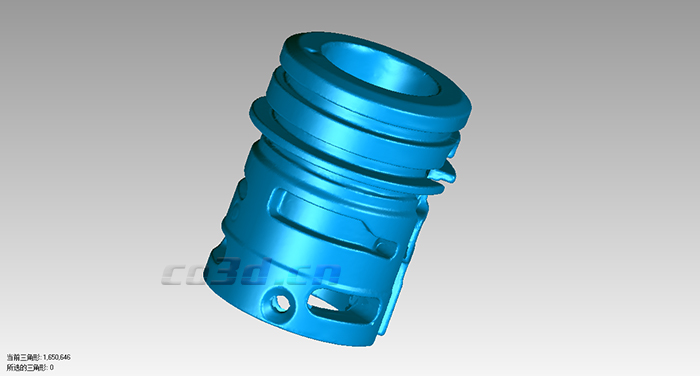
Precision parts STL data chart