Three dimensional scanning case of air propeller
High precision 3D model of a customer needs to get the air propeller, Huaguang engineers use the HL-3DS fast, accurate, obtain the 3D data of the air propeller, and a three-dimensional rendering of 1:1 model in reverse design software UG.
Practical problems
1 the propeller blade curvature changes, traditional measurement methods can not meet the measurement needs.
The middle of the 2 aircraft propeller hub is connected with the blade axis precision parts of the engine, the customer requirements of data accuracy is very high.
CO3D solution
Aircraft propeller is to rely on the air in the propeller rotation will be the power of the engine to promote the power or lift the power of the device, its quality will determine the safety of the whole aircraft. So customers want to use the current more popular industrial measurement equipment - 3D scanner. It is a non-contact optical measurement equipment, has the characteristics of fast scanning speed, high measurement accuracy, wide range of data and so on. In the end the propeller Huaguang engineers observed, decided to adopt a multi functional 3D scanner HL-3DS.
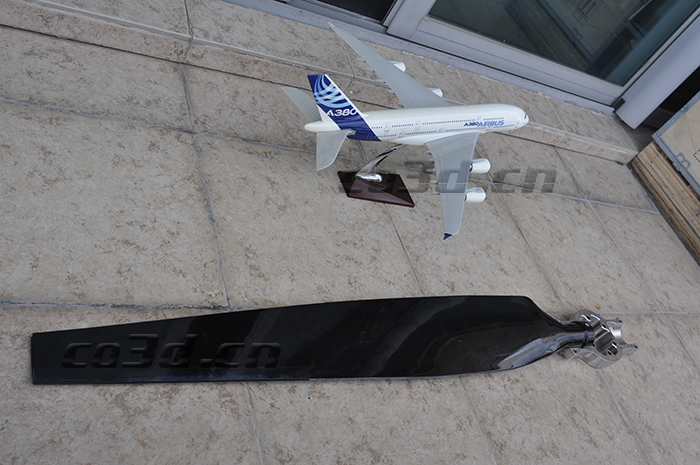
Pulp physical map
Pre preparation:
Because the object blade is black, hub easy reflection, so before the scan need to spray a layer of imaging agent.
Scanning three-dimensional objects need to be multi angle shot, in order to facilitate the software to automatically stitching, also need to be more sparse on the propeller of the mark points.
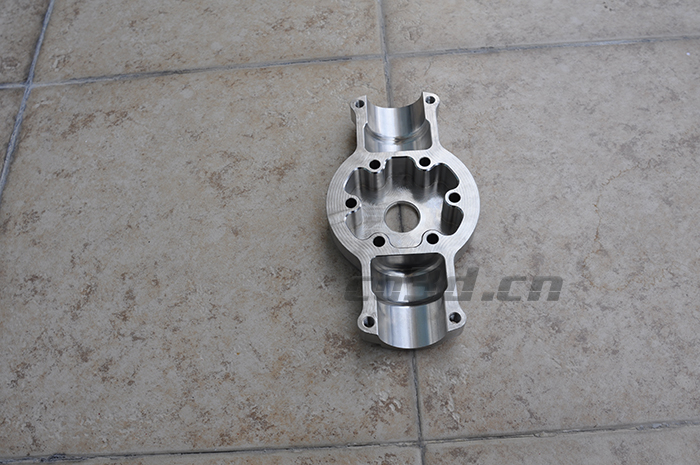
Hub physical map
Scanning process:
HL-3DS is a multi functional 3D scanner technology Huaguang independent research and development team, the 13 step encoding technology to eliminate the distortion error of lens calibration. Heterodyne multiple frequency phase shift grating technology uniform fringe projection, noise reduction. The features of high scanning precision, fast scanning speed, easy to carry, and so on.
Huaguang three-dimensional self-developed scanning software has the advantages of convenient operation, high stability. The scanning process is simple and easy, it takes about 30 minutes to get a 1:1 high precision three-dimensional point cloud data into the postprocessing software can be converted to a STL triangulation structure, can also import UG, Pro/E and other mainstream software
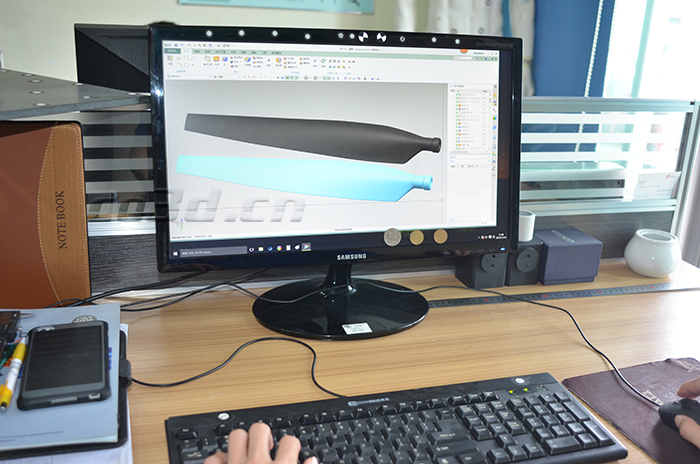
Huaguang engineers are using UG drawing
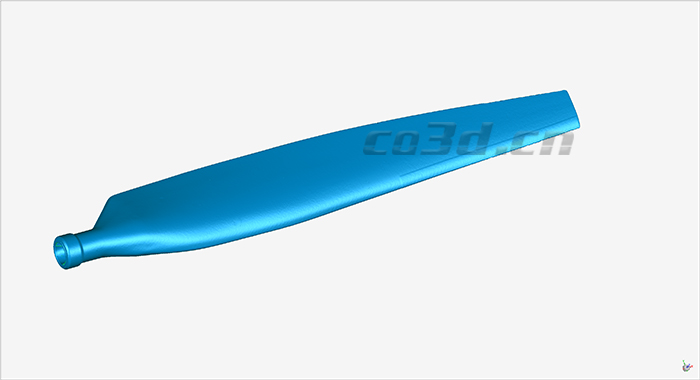
Plasma leaf STL data
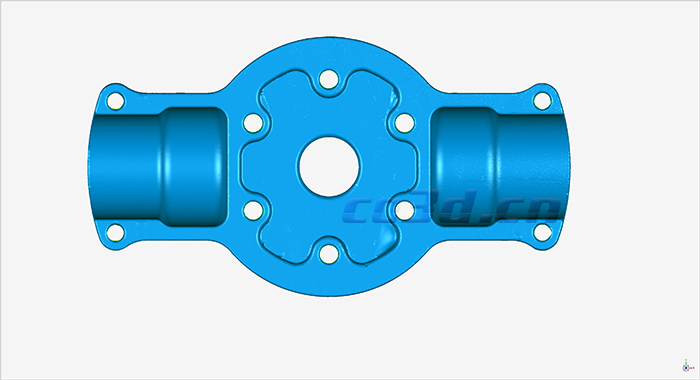
Plasma leaf STL data