Ultra-large UAV mold 3D scanning case
A well-known aircraft manufacturing company in Shanghai hopes to quickly obtain the appearance data of the original super large UAV mold side by means of 3D scanner, and combine the reverse engineering software to carry out secondary design of the UAV mold, accelerate the development of new products and improve production. effectiveness.
Practical problems
1. Since the UAV mold scan data involves the reverse engineering and quality inspection in the later stage, the accuracy of the scan data of the customer is very high.
2. The size of the UAV mold is large, the surface curvature is large, and the curvature changes greatly. The traditional measurement methods (such as inspection tools, jigs, three coordinates, etc.) are very cumbersome, not only waste time, but also insufficient accuracy. accurate.
Co3d solutions
In view of the large size and large surface of the UAV mold, Huaguang 3D engineers proposed to use the scanning device in the solution: 3D scanner α7000; 3D photogrammetry system 3DP
1. Huaguang 3D engineers use 3D photogrammetry system 3DP to shoot the tested mold from different angles, then import the captured pictures into photogrammetry software, and the software will automatically calculate the overall frame point of the measured blade according to the triangulation principle. .
2. The three-dimensional scanner α7000 performs comprehensive three-dimensional measurement on the aircraft mold, and obtains three-dimensional measurement data of the wind turbine blade.
3. Using the reverse design software to analyze the deviation of the digital model size of the high-quality surface model, and then design and adjust according to the analysis results.

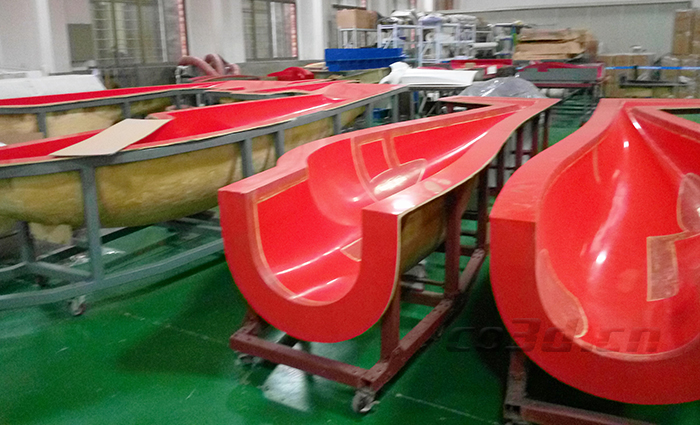
UAV mold physical map

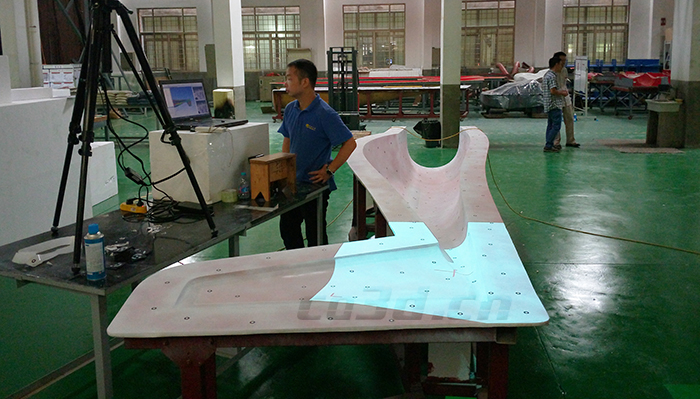
UAV mold on-site scanning

UAV mold on-site scanning

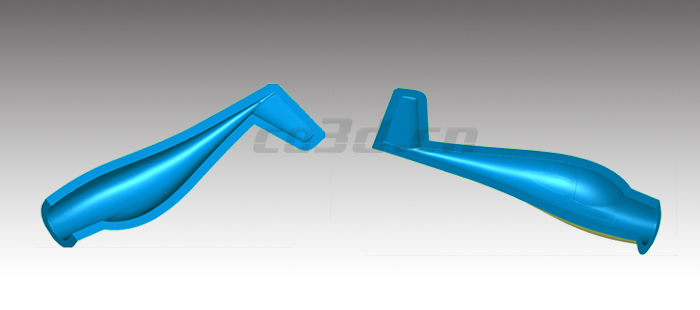
UAV mold STL data chart

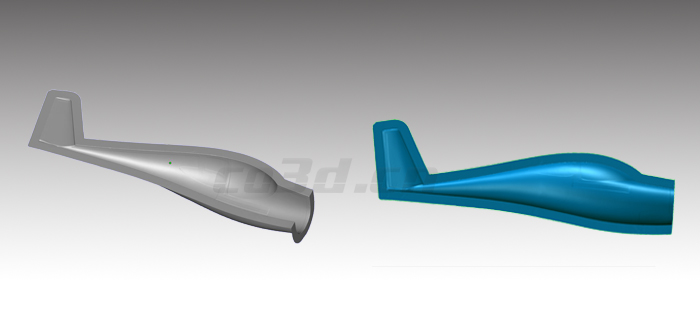
UAV mold 3D data map