Automated robot 3D scanning case
A large hydraulic equipment manufacturer needs to make product improvements for automated robot components. Huaguang engineers quickly acquired high-precision 3D data of robot parts using 3DS, which shortened the product improvement cycle.
Practical problems
1. Since the scan data involves post-reverse engineering and quality inspection, the accuracy of the scan data is very high.
2. Although the surface of the robot is relatively flat, there are many holes. The traditional measurement method not only consumes time, but also the accuracy of the acquisition is not accurate enough.
Co3d solutions
According to the characteristics of KUKA robots, Huaguang engineers recommend the use of multi-function 3D scanner 3DS, which uses extrapolation multi-frequency phase shift grating technology, code point calibration technology and fully automatic splicing technology, with fast scanning speed and high data precision. Features. One of the scans used for the demonstration was about 1 meter long and about 0.3 meters wide. The Hualang 3D scanner takes less than 15 minutes from preparation to the end of the scan. The overall error is only 0.02mm. Compared with a foreign device, the error is 3 times smaller, and the scanning speed is not in a grade.
After the KUKA robot's 3D data is imported into the reverse software (Geomagic) for simple processing, the data is imported into Pro/E, UG and other mainstream design software to reverse the robot design, which can accelerate the development of new products. The 3D data can be used in conjunction with the 3D inspection software Geomagic Qualify to perform 3D inspection of later products.
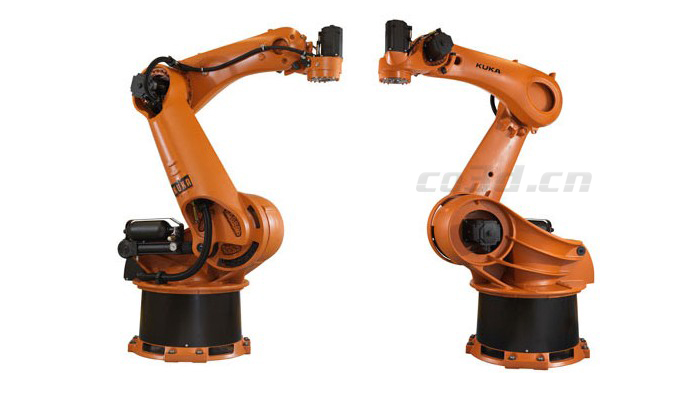
KUKA robot physical map
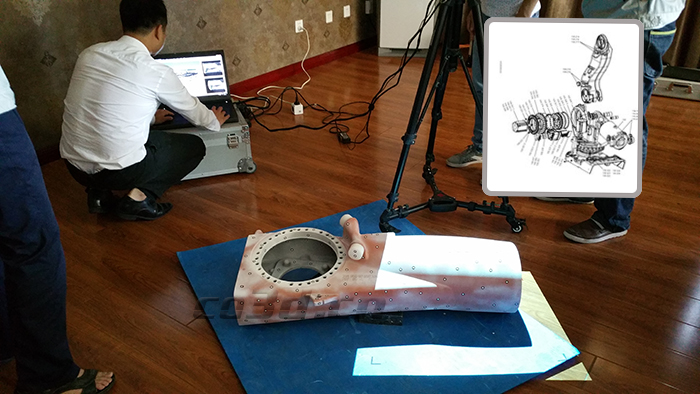
KUKA robot parts site scan
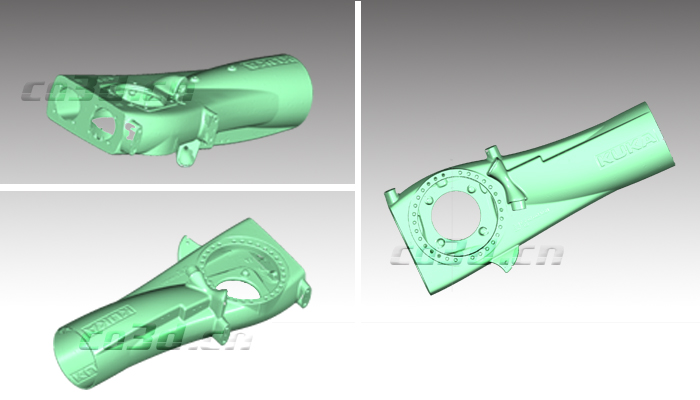
KUKA robot parts point cloud data map
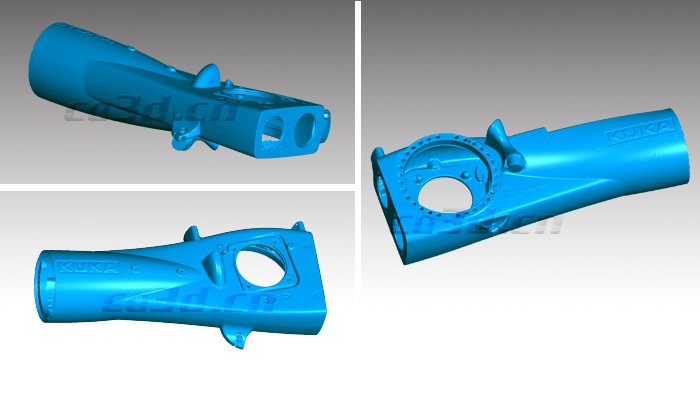
KUKA robot parts STL data chart
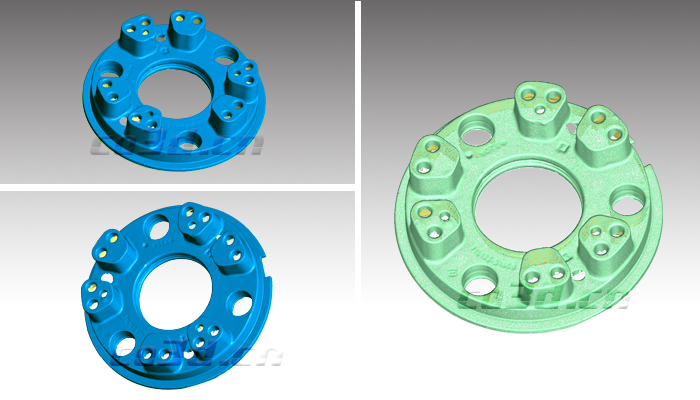
KUKA robot parts 3D data