China is in a period of accelerated industrialization, marketization, and urbanization, as well as a period of consumption expansion and structural upgrading. The equipment manufacturing industry will face rare development opportunities, providing huge market space for the development of gears.
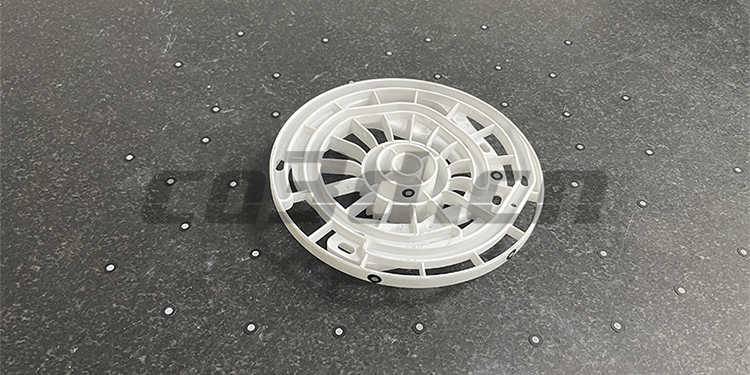
Gear physical image
面临问题| Practical problems
The customer needs to measure the surface profile of the gear and the surface profile of all gears, whether the diameter of the holes on both sides is the same, as well as the deviation between coaxiality and clamping groove. The shape is complex and irregular, and the grooves on each side are different with many dead angle holes. There are many 3D dimensions that need to be measured. The use of traditional measurement methods is very cumbersome, time-consuming, and lacks sufficient data collection (insufficient data volume). Gap calipers cannot measure, and accuracy is difficult to guarantee, which cannot meet customer needs.
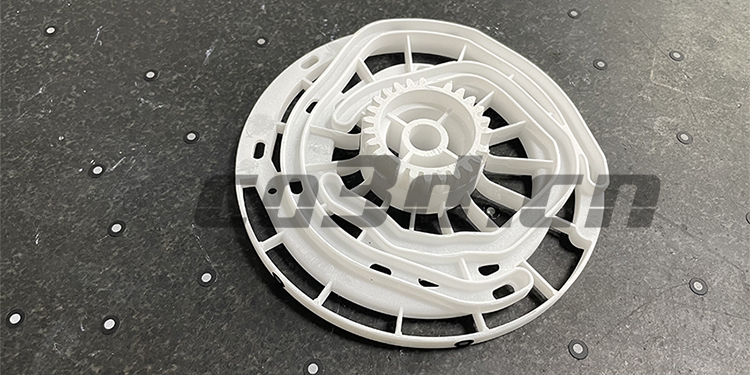
Gear physical image
解决方案| Co3d solution
In view of the characteristics of small and complex workpiece shape and many dead angle holes, Hualang 3D technical engineers proposed a solution: the use of the handheld 3D scanner HOLON B71 scanning process is not only fast, high precision, easy to operate and short in time, which meets the customer's scanning needs and successfully solves the problems faced by customers.
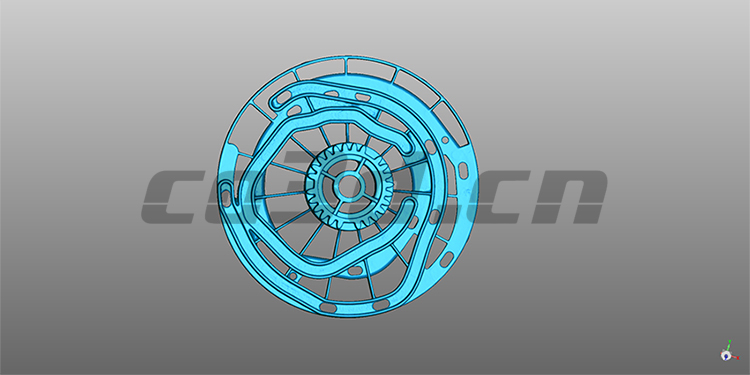
Gear STL data graph
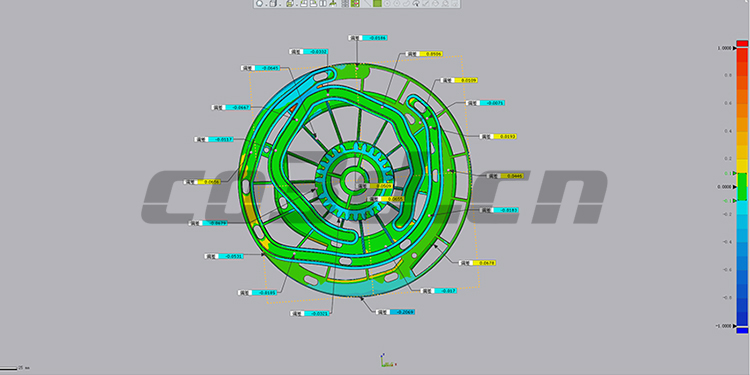
Gear comparison inspection diagram
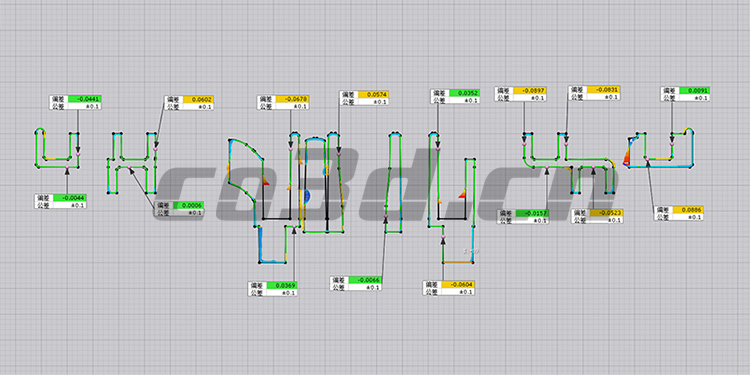
2D cross-sectional analysis of gears