3D inspection of automobile cylinder head
As society enters industrialization, vehicle usage is getting higher and higher, so the requirements will be higher and higher. The cylinder head is often in contact with high-temperature and high-pressure gas, and therefore withstands large thermal and mechanical loads. The customer wants to scan and obtain the data, detect the quality of the produced automobile cylinder head, and distinguish the key parts of the automobile cylinder head from the defects of the product according to the high-density point cloud data to ensure that the product design fully complies with the processing logic.
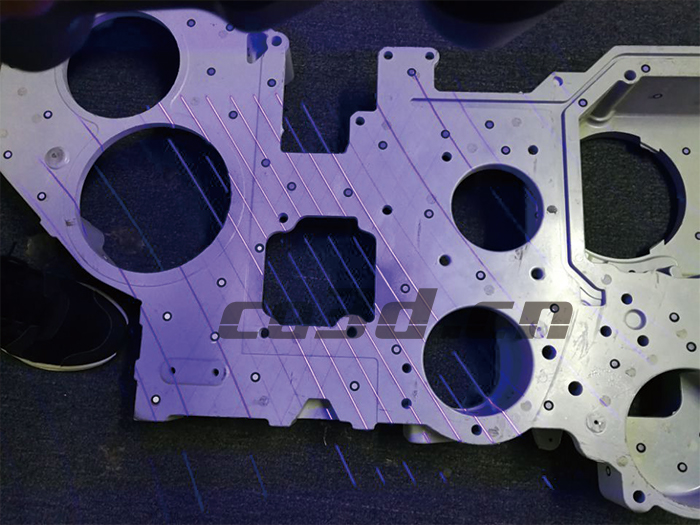
On-site scan of car cylinder head
Practical problems
There are many curved surfaces of automobile cylinder heads, and the shapes of the grooves on each side are different, which is very complicated. It is necessary to quickly obtain the scanned three-dimensional digital model.
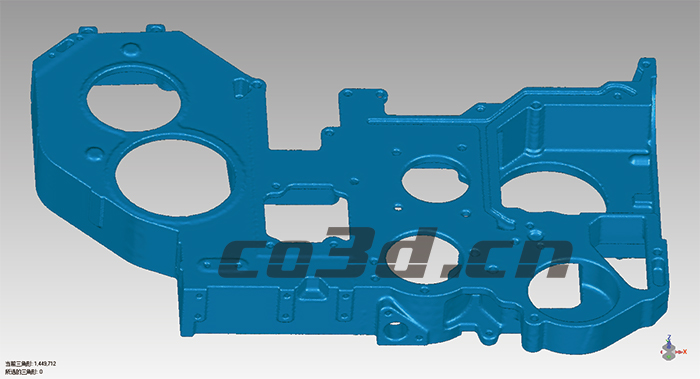
Automotive cylinder head STL data map
Using traditional measurement methods (gages, fixtures, three-coordinates, etc.), the acquired data is incomplete, and the measurement of curved parts cannot be performed, resulting in incomplete data acquisition and subsequent work planning.
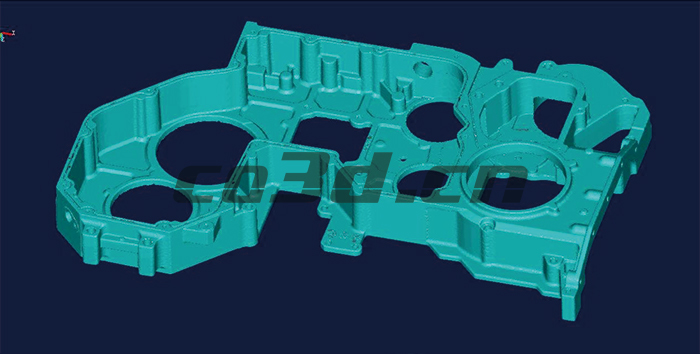
Automotive cylinder head STL data map
Co3d solution
In response to the characteristics and requirements of this scanning sample, our handheld 3D scanner HOLON751 is used. It has fast scanning speed, high accuracy and strong stability. The automatic stitching technology of landmarks and the independently developed scanning software have super high scanning accuracy. And work efficiency. The scanner is used to scan the cylinder head of the car to obtain the data, and the details can be scanned using the fine mode to obtain the data with high accuracy.
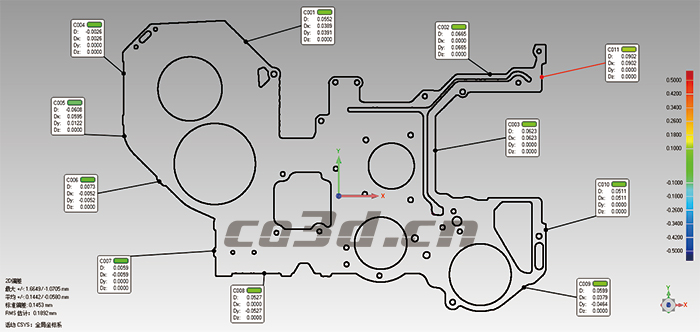
3D sectional view of automobile cylinder head
Importing the acquired three-dimensional data into the inspection software can quickly detect the differences between the automobile cylinder head model and the product manufacturing part, and can intuitively understand the differences between the two by using graphical comparison results, and can perform detailed analysis on the characteristics of the automobile cylinder head At the same time, the shape and position deviation of the profile can be captured and reflected. Customers are very satisfied with our data report, which can accurately reflect the existing problems, solve the disadvantages in product design, and improve production efficiency and quality.
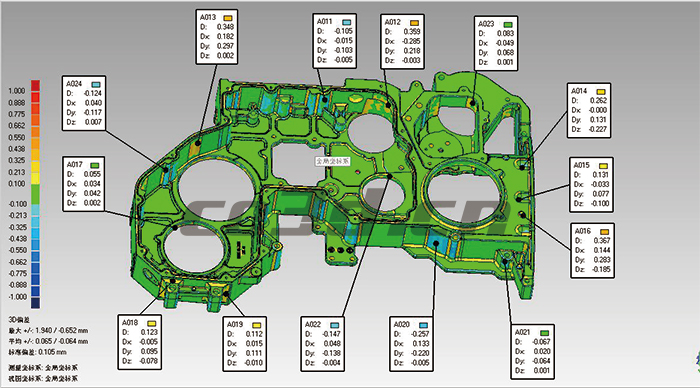
3D inspection map of automobile cylinder head
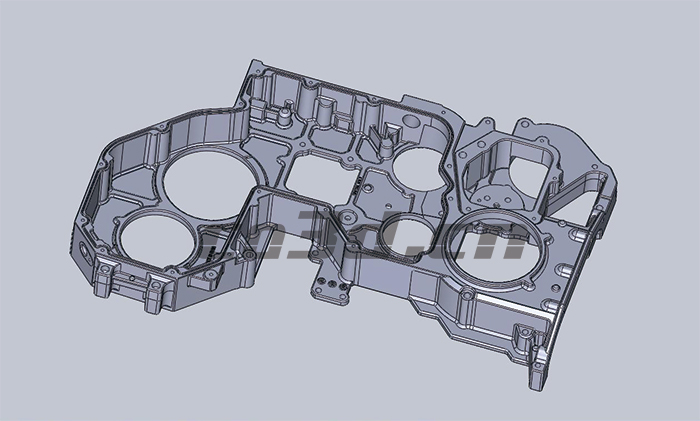
Automotive cylinder head reverse design