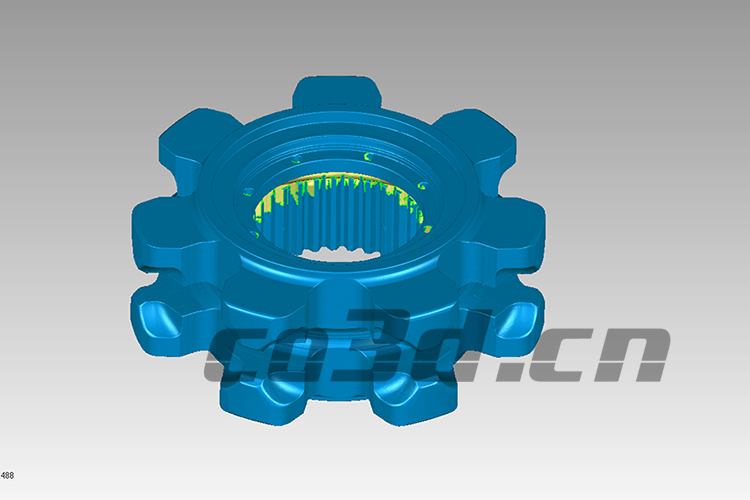
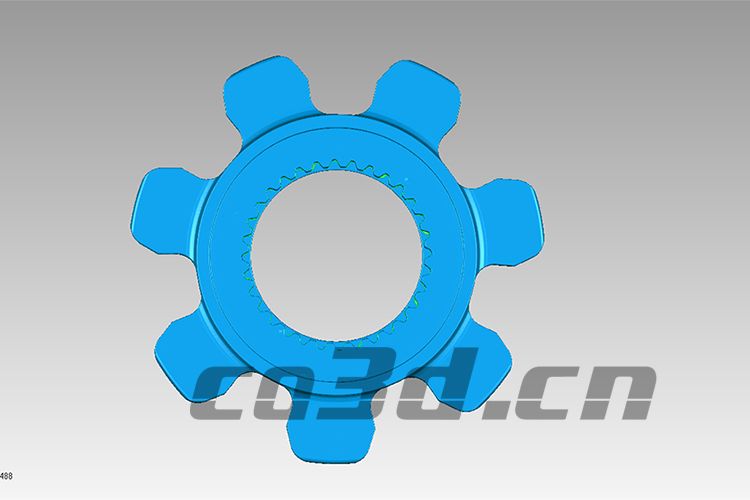
The coal mining machine is a large and complex system that integrates mechanical, electrical, and hydraulic systems. The working environment is harsh, and if there is a malfunction, it will cause the entire coal mining work to be interrupted, causing huge economic losses. In order to ensure the later usage cycle, customers need to scan the coal mining machine components, and the scanned data is subjected to three-dimensional testing.
Practical problems
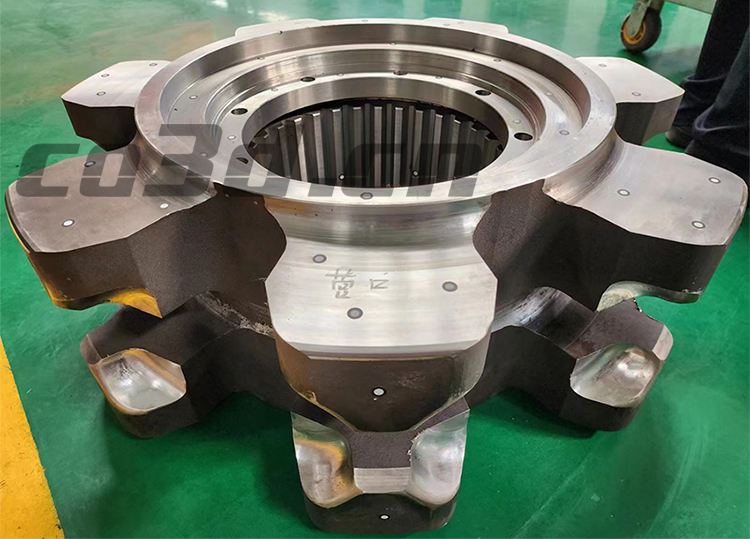
The structure of the workpiece is complex, the direction of the surface is variable, and the difficulty of collecting detailed data of the parts greatly increases. Customers demand high scanning accuracy and complete data. Traditional measurement methods are time-consuming and labor-intensive, and the collected data is insufficient (insufficient data volume). Gap calipers cannot measure, and accuracy is difficult to guarantee.
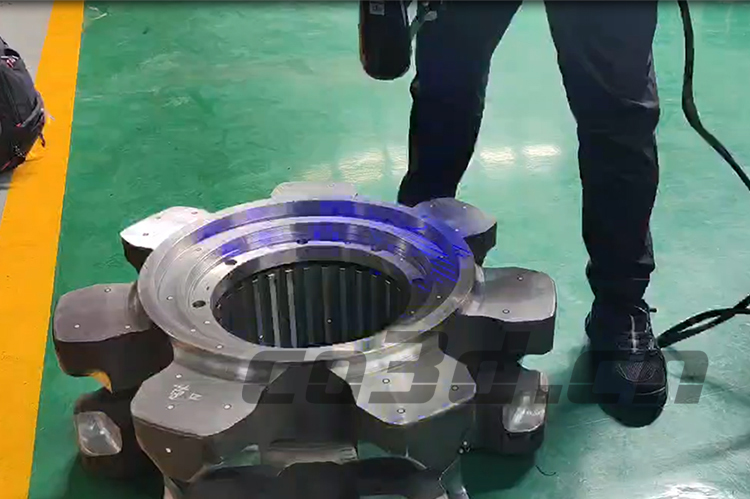
Co3d solution
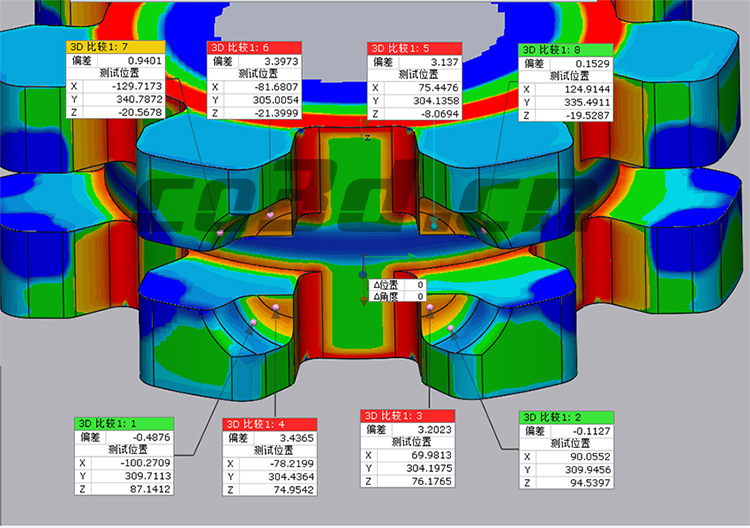
Hualang engineers use a handheld 3D scanner, HOLON B71, with multiple scanning modes to quickly switch between corresponding scanning modes for various features of the workpiece. In fine mode, under the irradiation of multiple parallel laser lines, small features of the part can also be perfectly captured, with a maximum scanning accuracy of 0.01mm. For the measurement of bulk parts, cross laser is used in a large range mode to quickly capture data and generate contour data immediately. Import into 3D software for comparative analysis to generate easy to understand analysis reports and solve customer challenges.
