Pump impeller three-dimensional inspection case
The customer is a well-known pump manufacturer integrating production and sales. The customer needs to carry out quality inspection on the pump impeller. In order to meet the market demand and improve the competitiveness of the enterprise, the customer decides to abandon the traditional testing method, introduce new measuring methods, and invite customers to come. Our company conducts product demonstrations, quickly and accurately obtain detailed 3D inspection results, analyze product qualification, improve product quality and product development rate.
Practical problems
1. The pump impeller is small in volume and the surface is partially dark black and reflective, which increases the difficulty of scanning. The deformation of the product is prone to deformation during the production process, so the control of the quality of the pump impeller is particularly important, and the accuracy required by the customer is very high.
2, the simple use of traditional detection methods (such as inspection tools, fixtures, three coordinates, etc.) production method is difficult and time-consuming, the process is cumbersome, time-consuming, and it is not easy to accurately and quickly measure the structure of the pump surface curvature, Detection.
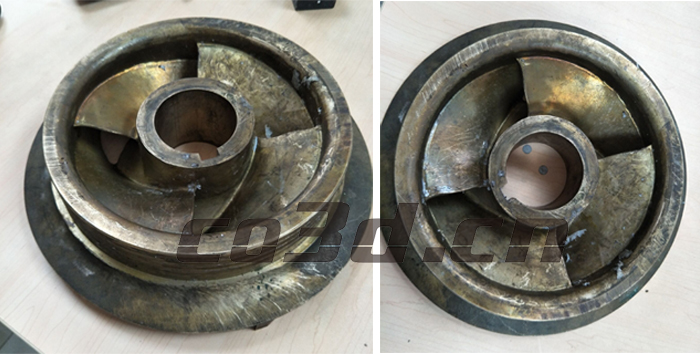
Pump impeller field physical map
CO3D solutions
The impeller of the pump has a small volume and the curved surface of the impeller is large. The surface of the impeller is dark black and reflective. It is difficult to scan. The customer requires high scanning speed and high precision. The traditional inspection method is used for the measurement. It is not only necessary to spray the developer. Moreover, the scanning speed is slow, the workflow is complicated, the scanning of the workpiece takes a long time, many dimensions and shape features cannot be effectively measured, and secondary errors are easily generated, which affects the production quality and production efficiency of the product.
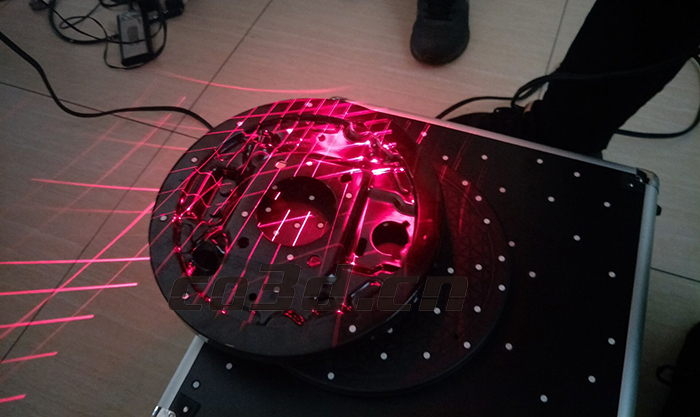
Pump impeller scanning site map
In response to the problems faced by customers, Huaguang 3D technology engineers use the hand-held 3D scanner HOLON760 to quickly and accurately acquire the 3D data of the impeller, and it is convenient and quick to scan without using the developer. The scanning speed is fast and the measurement accuracy is high. Successfully solved the problems faced by customers.
Scanning equipment:
Handheld 3D scanner HOLON760
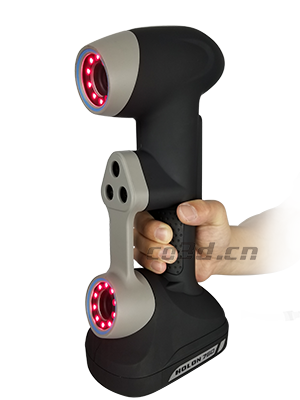
Applicable fields:
Automotive scanning and parts, aircraft components, boats, large blades, large castings, mold impellers, construction machinery, 3D printing, research and teaching, etc.
Features:
● Light source form: 7 sets of crossed laser lines plus an additional laser line for a total of 15 laser lines, making scanning faster, more accurate, and more stable
● Single beam laser: can be switched to a single laser scanning mode, suitable for scanning deep holes and dead angles
● Measurement accuracy: up to 0.020mm, resolution up to 0.050mm, free from environmental influences, workpiece structure and user capacity limitations
● Industrial design: light weight (870g), easy to carry, easy to operate, greatly improve work efficiency, new independent research and development technology is guaranteed
● 3D photogrammetry function: The system comes with photogrammetry function, which makes the scanning precision higher and the technical level is better than the same industry.
● Mobile scanning: can be carried around, can be used indoors and in the field, suitable for various complicated scenes
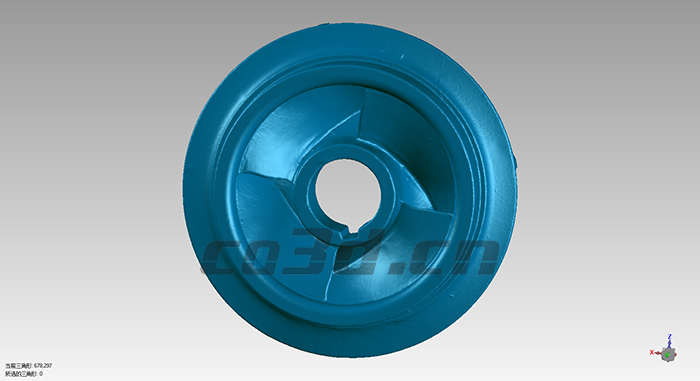
Pump impeller STL data chart
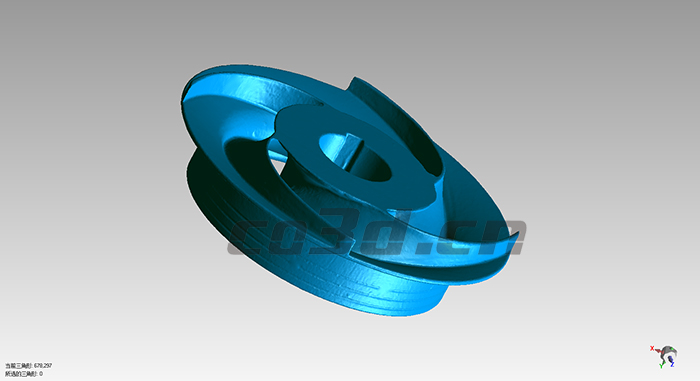
Pump impeller STL data chart
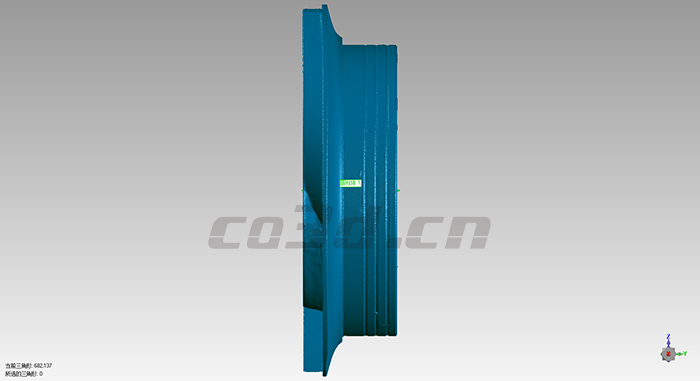
Pump impeller STL data chart
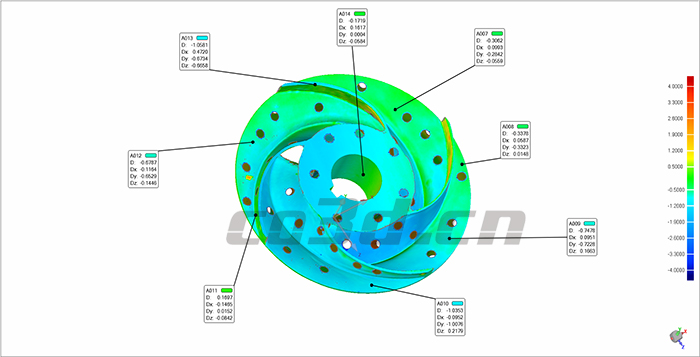
Pump impeller detection comparison analysis data chart
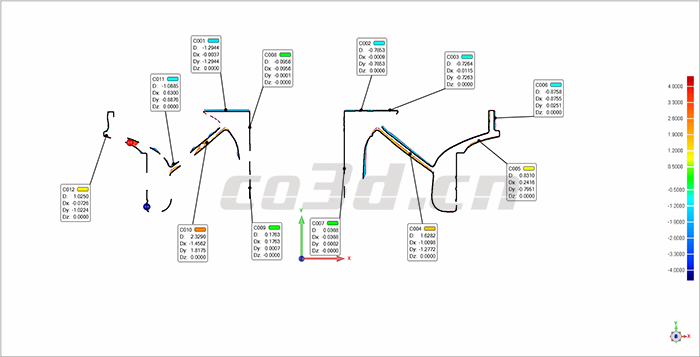
Pump impeller three-dimensional data map