Optical instrument precision fittings 3D scanning
A well-known domestic enterprise needs to carry out three-dimensional measurement of precision optical components imported from Japan, obtain high-precision three-dimensional data for mold-opening processing, and accelerate the production, efficiency, and efficiency of precision instrument accessories.
Practical problems
1. The precision parts of optical instruments are irregular in shape and have many holes. The surface texture has many curved contours. The customer needs high requirements for measuring three-dimensional size data and hole position accuracy, which brings great difficulty to traditional measurement work.
2, the use of traditional measurement methods, very cumbersome, time-consuming, and it is not easy to accurately and quickly measure and scan the overall structure and hole position of optical instrument precision accessories, and the data obtained is not perfect.
Co3d solutions
According to the irregular shape of the instrument precision fittings and more holes, the surface texture has more curved contours. Huaguang 3D technical engineer proposed a solution to quickly acquire 3D data of precision accessories of optical instruments using HL-3DS+. Not only the data accuracy is high, but also the scanning speed is combined with the 3D reverse software to successfully complete the overall scanning of the workpiece, which improves the mold opening process of the later products. Efficiency, cost savings, and production meet customer scanning needs.
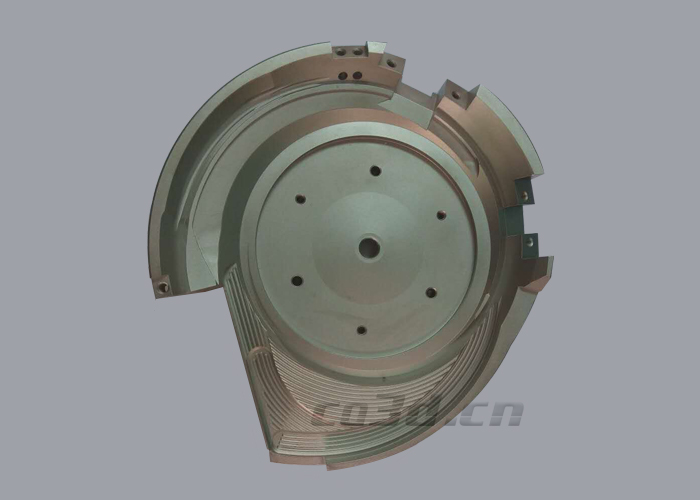
Precision parts physical map
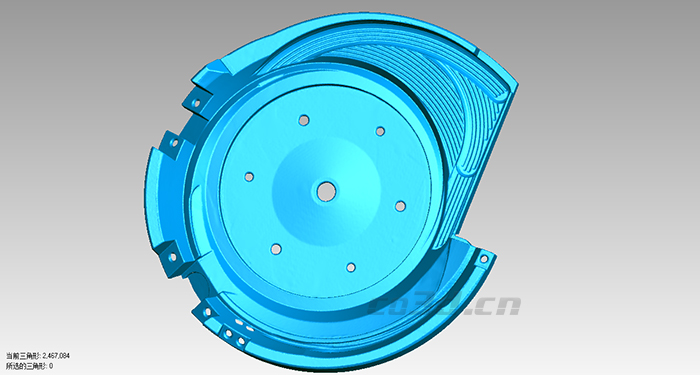
Precision parts STL data chart
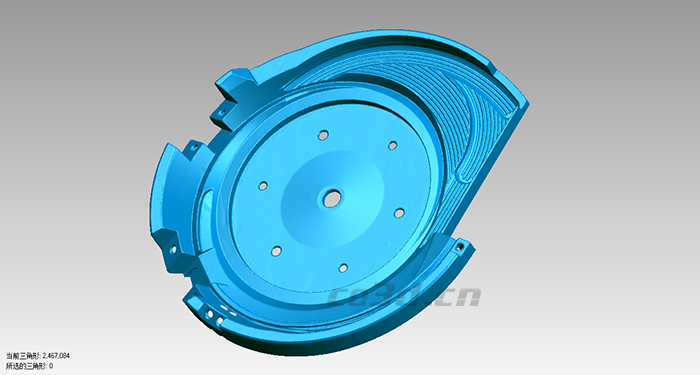
Precision parts STL data chart
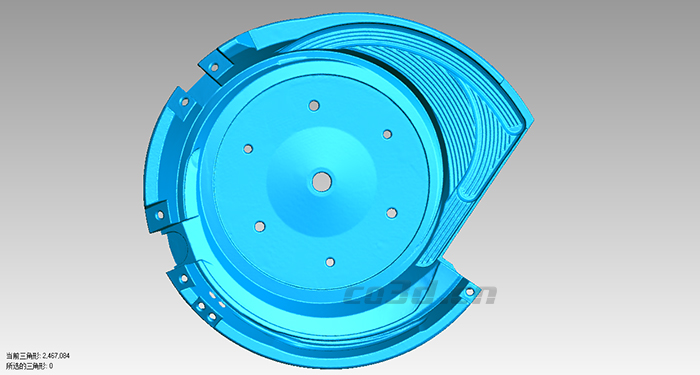
Precision parts STL data chart
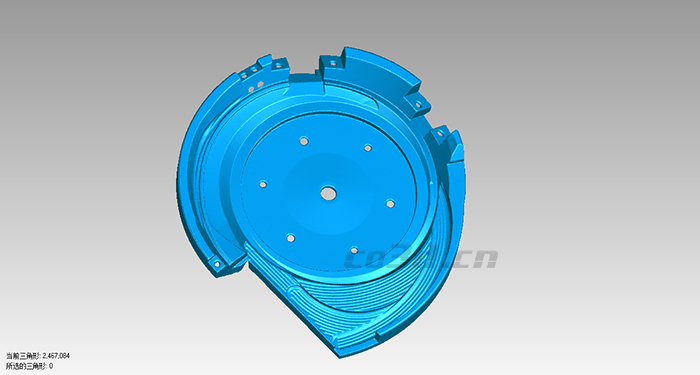
Precision parts STL data chart