Grinder 3D scanning case
Huaguang engineers use hand-held and camera-type 3D scanners to scan grinder and grinder components to obtain accurate 3D data for retrofit design and subsequent quality inspection.
Practical problems
1. The surface of the grinding machine is convex and has many curved surfaces. The efficiency of using traditional measuring instruments is very low.
2. The structure of the grinding machine is complex and has many grooves. The traditional measuring method is slow and cannot obtain accurate three-dimensional data.
Co3d solutions
The grinding machine is a machine tool that grinds the surface of the workpiece with a grinding tool. The surface is more curved and the structure is more complicated. For the problems faced by customers, Huaguang 3D technology engineers use the handheld laser 3D scanner and 3D scanner 3DSV+ to quickly acquire the high-precision 3D data of the grinding machine + reverse design software Geomagic Studio (convert the grinding machine point cloud data into triangular mesh surface) Data) +Pro/E, UG and other mainstream design software for post-processing, speeding up the secondary design of the grinding machine. The processed data can be imported into the detection software to perform detailed analysis of the object features, such as hole position, contour, curvature, etc., while also capturing and reflecting the shape and position deviation of the profile. Geomagic Qualify inspection software automates the alignment of measurement data with CAD data for fast alignment and quality control.
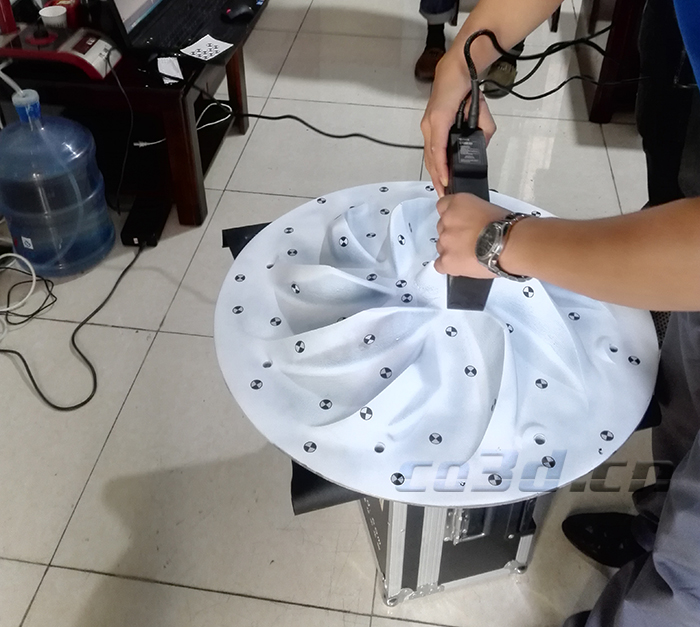
Grinding wheel 3D scanning scene map
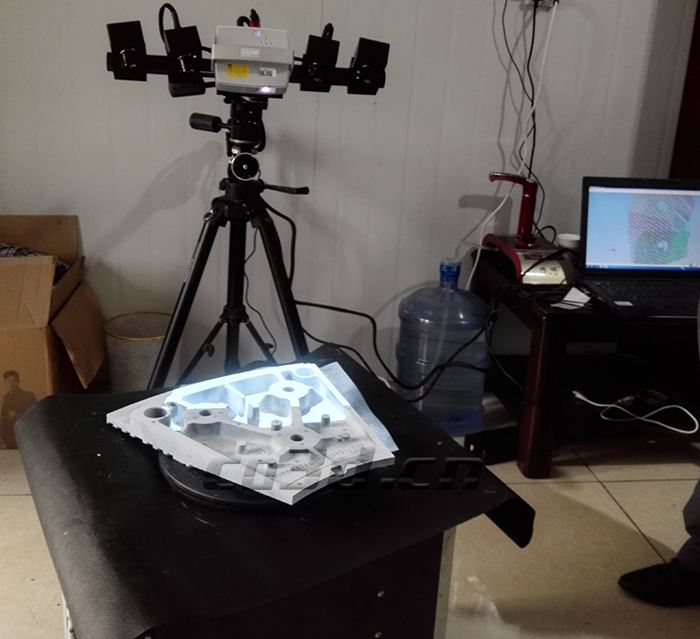
Grinding machine 3D scanning site map
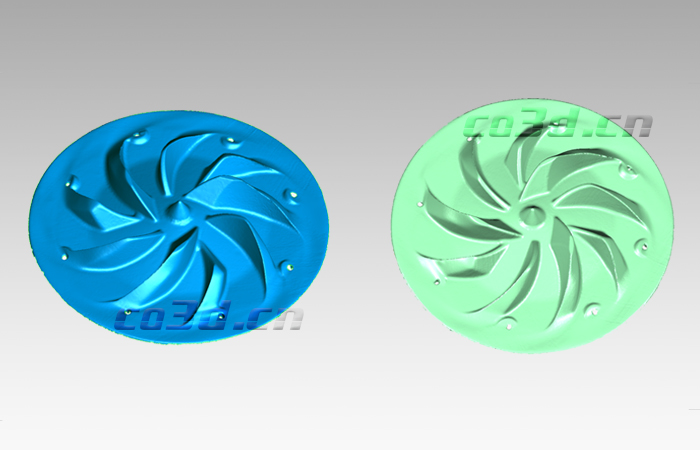
Grinding wheel 3D data map
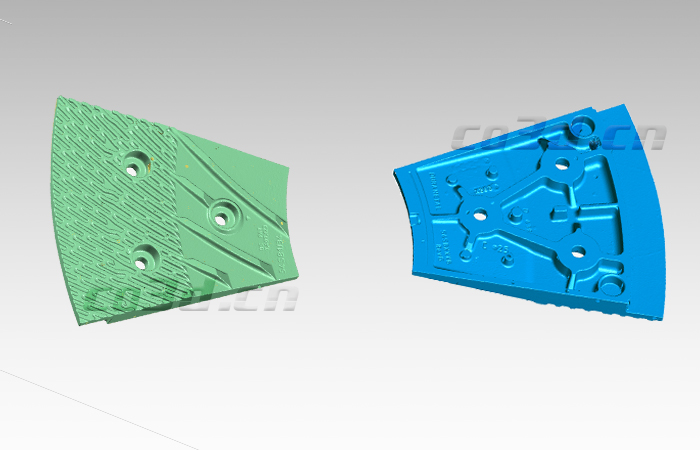
Grinder three-dimensional data map
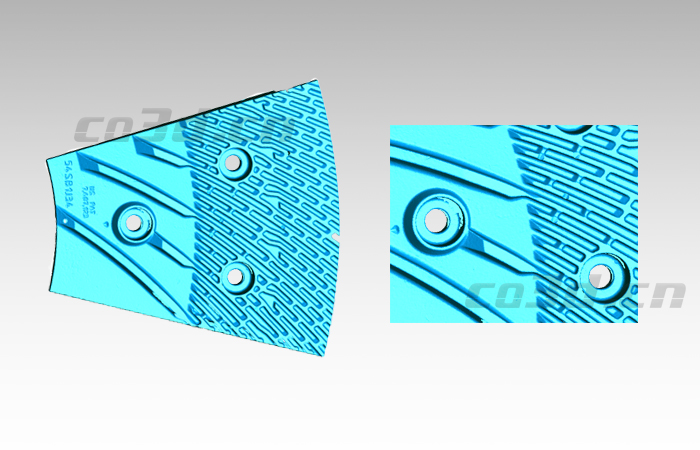
Grinder three-dimensional data map