3D inspection of machined parts
The processed parts are the workpieces produced by the mechanical processing technology, and are easily deformed during the manufacturing process. Therefore, the processed parts need to be inspected to control the product quality of each process and improve the product quality. Object data can be analyzed and compared. The customer wants the 3D scanning technology to scan and obtain the data of the processed parts for inspection.
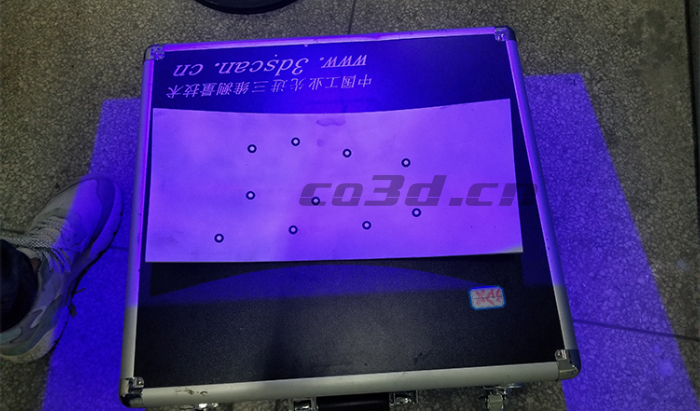
On-site scan of processed parts
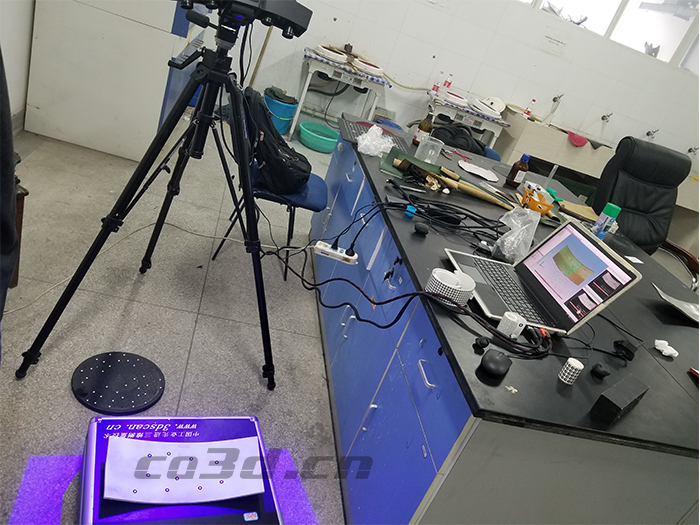
On-site scan of processed parts
Practical problems
Customers need to find complete scanned high-precision data, and the data analysis effect is good, which can clearly show the problem. The customer had previously found a 3D scanning manufacturer to demonstrate the results. The accuracy of the scanned data was not high, and the results of the inspection and comparison were not ideal, failing to achieve the desired effect. Our company is experienced in the scanning of processed parts, and our equipment has high scanning accuracy and can obtain high-precision data.
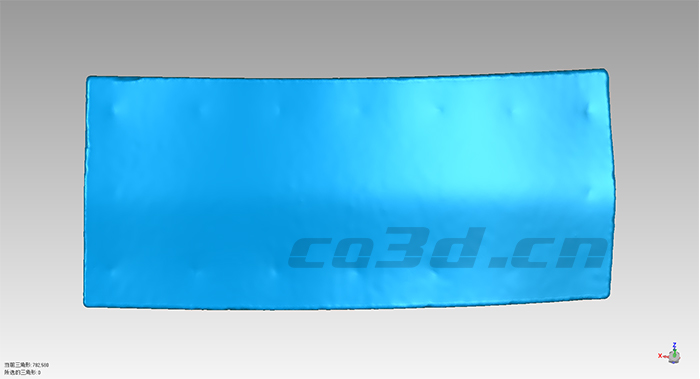
STL data graph of processed parts
Co3d solution
According to various requirements, the use of a snapshot-type 3D scanner (HL-3DX +) can quickly and accurately obtain high-precision 3D data, and the scanning work can be completed within 10 minutes.
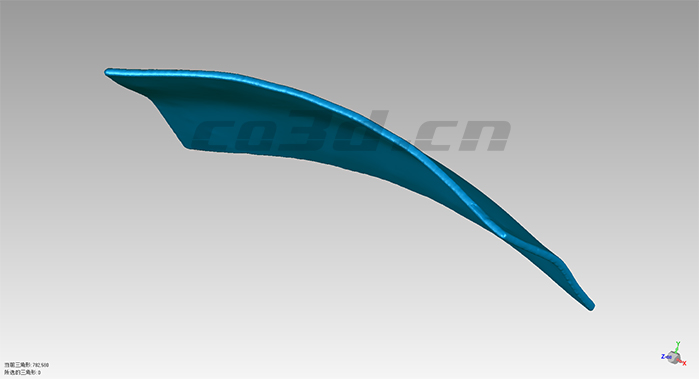
STL data graph of processed parts
Afterwards, the scanned 3D data is imported into the reverse design software Geomagic Studio for processing, and used together to generate an intuitive and easy-to-understand inspection graphic report to show whether the processed parts have problems or deformations. The customer clearly knows where the problem of the processed parts occurs, and can solve the problem in a strategic and targeted way, quickly and fundamentally solve the problem, shorten the time, and speed up the work efficiency.
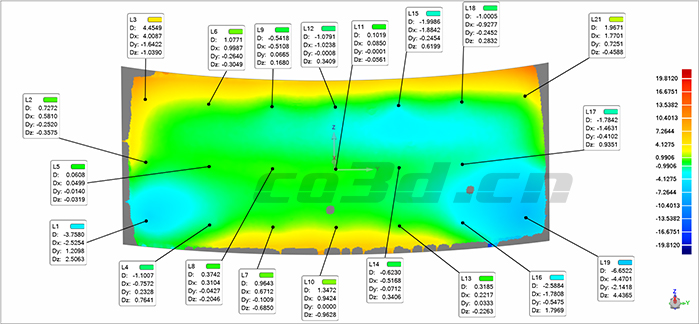
Scanning inspection chart of processed parts
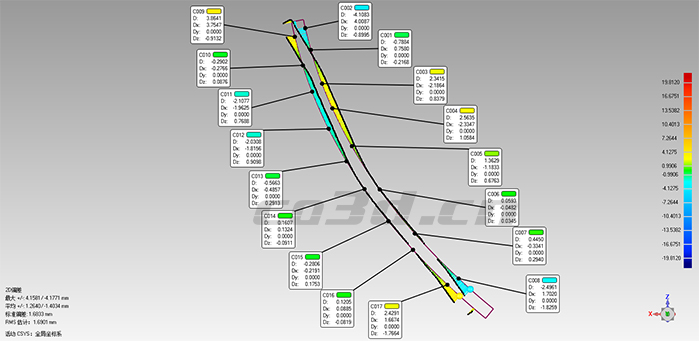
Scanned sectional view of the workpiece