3D scanning of screws
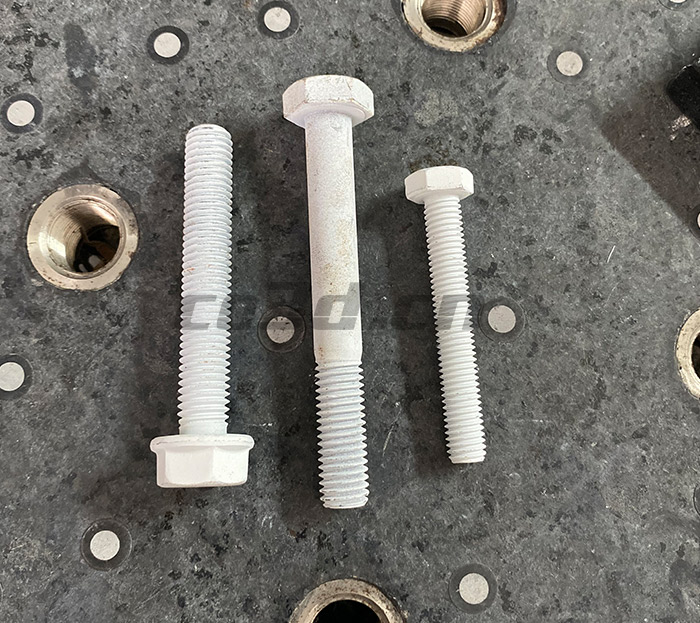
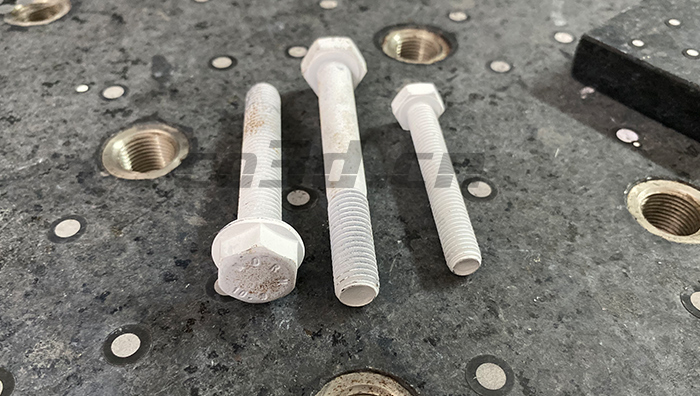
The main function of the screw is to connect the two workpieces together for fastening. Screws are used in almost all machines. The screw itself is metal, which is easily corroded by acid and alkali or rust, which affects the performance and aesthetics of the screw. Therefore, the screws are often coated with a coating to prevent corrosion. The three-dimensional data of the surface of the screw is obtained with the aid of three-dimensional scanning technology to calculate the surface area of the screw.

Site scan
Facing problems | Practical problems
The size of the screw is small, and the thread gap is also small. To complete high-precision scanning, the three-dimensional scanner used has high requirements and can accurately obtain the scanned data. If a fixed scanner is used, it is difficult to scan the thread gap, and it is impossible to capture the details inside. Therefore, the needs of customers cannot be fulfilled, and the new three-dimensional scanning technology is applied, which is high-precision and fast scanning to obtain data.

Site sacn
Solution | Co3d solution
According to customer needs and workpiece conditions, Hualang technical engineers quickly gave a solution: use the HOLON751 handheld 3D scanner to scan the screw comprehensively and quickly to obtain high-precision data.

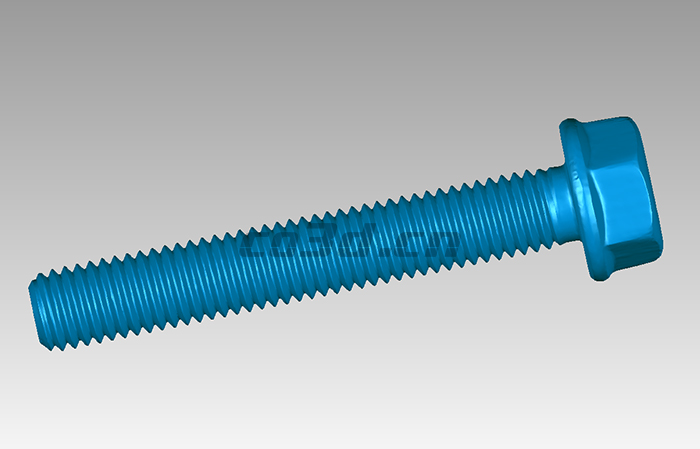
Scan STL data graph
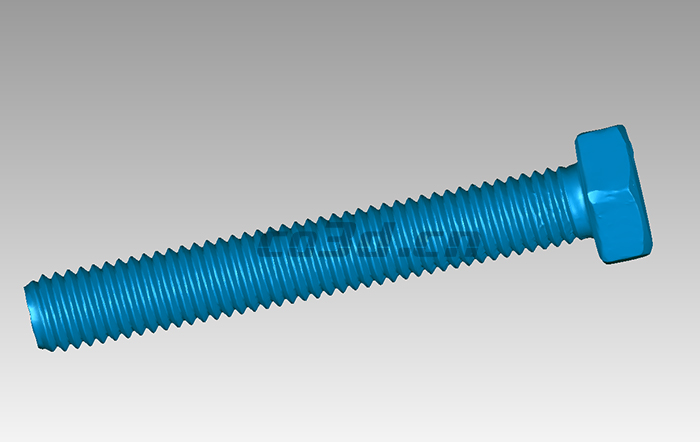
The whole scan only takes ten minutes, the scanning speed is fast, and the work efficiency is high. . Use HOLON751's fine mode to scan the thread, and obtain data with higher accuracy. The obtained data is optimized through three-dimensional software, and the surface area is calculated.

Scan STL data graph