The mold industry, as the foundation of industrial manufacturing production, has become a major indicator of the level of manufacturing industry based on its production technology and level. A well-known mold manufacturing enterprise in Tianjin needs to measure a large mold (2m long and 1.4m wide), and test the flatness, hole center distance, hinge position, and other data on the surface of the mold after production and processing

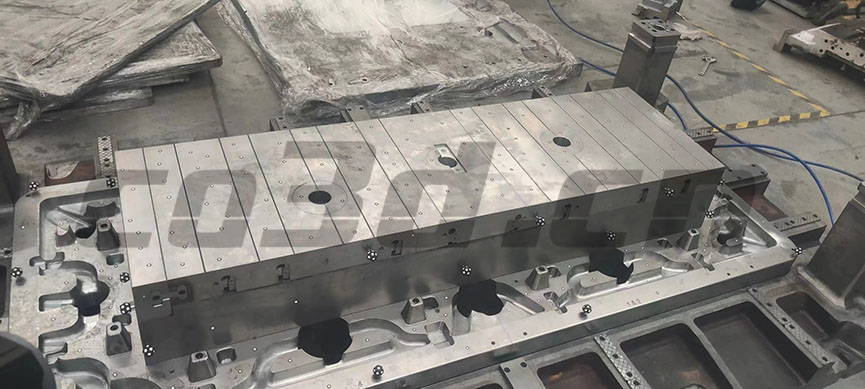
Physical drawing of the mold
Pracical problems
1. Due to the large volume, heavy weight, and complex shape of the mold, customers require fast work efficiency to accelerate the process of work. And there are strict requirements for the scanned data, with accurate data analysis, small errors, and high accuracy.
2. Simply using traditional methods to measure different positions requires replacing different tools, which is also very cumbersome, time-consuming, and difficult to control. Therefore, it is decided to replace the traditional measurement scheme with a new scanning method

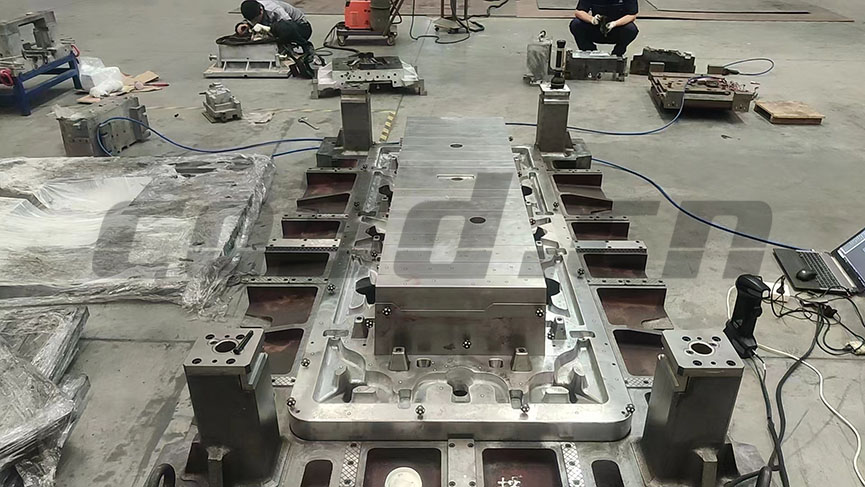
Scanning the physical image of the mold
Solutions
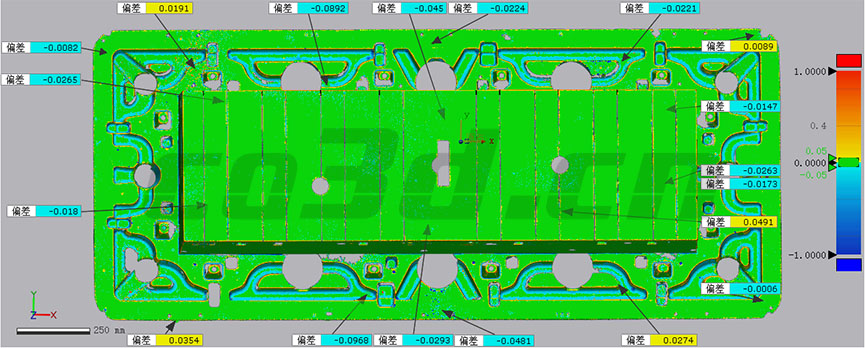
For the problem of mold scanning, Hualang adopts the handheld 3D scanner HOLON B71. First, the overall mold can be quickly scanned, and the data can be scanned within 30 minutes. The data required by the customer can be obtained. Compare the scanned data with the digital analog to obtain a simple and understandable comparison report. The error of mold detail data is clear at a glance. By using a new handheld 3D scanning technology and non-contact measurement method, the surface features are perfectly reproduced while also possessing the function of fast scanning.

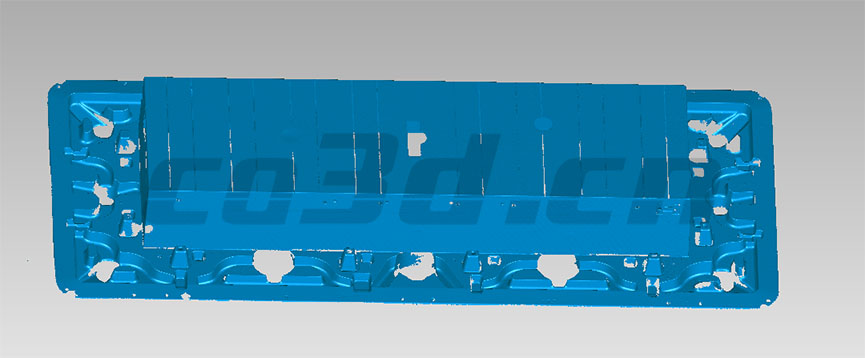
Mold STL Data Chart

Mold comparison inspection diagram